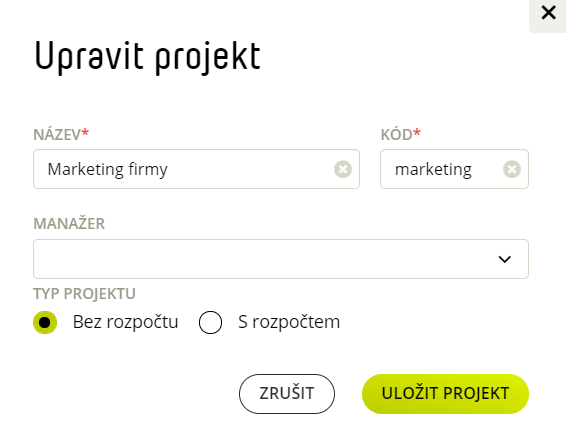
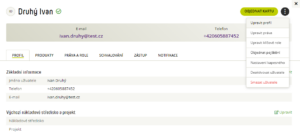
- Settings – Tabs – click on the tab you want to edit.
- Click on
and select Show settings.
- Edit the tab settings and Save.

- Section Settings – Tabs – tick the tabs you want to change.
- Click on
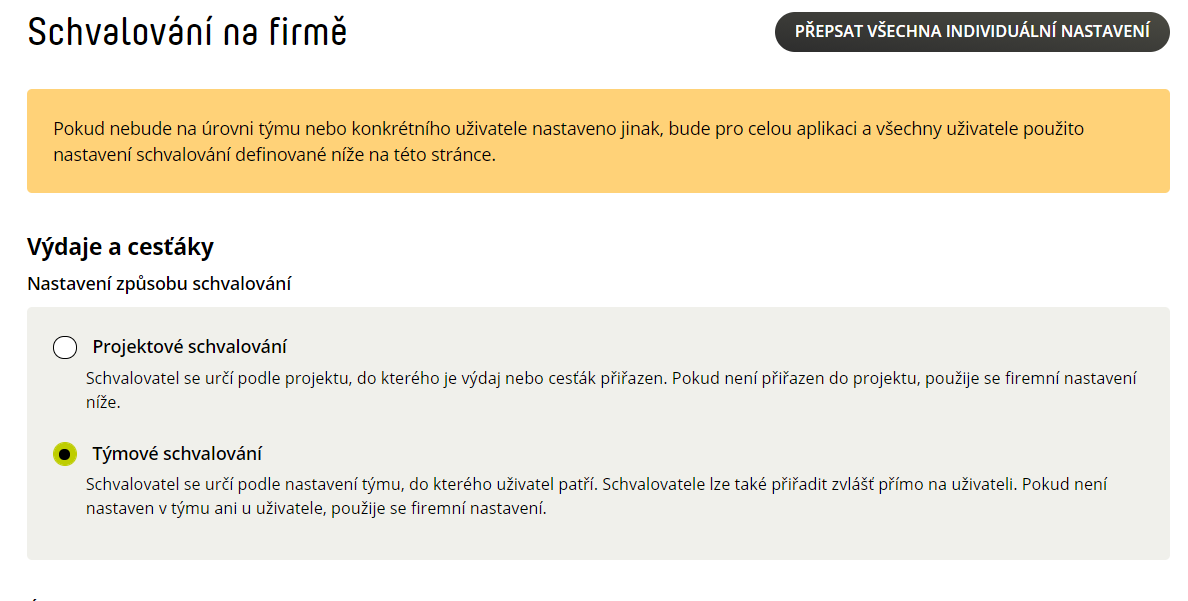
- Settings – Tabs.
- Click on
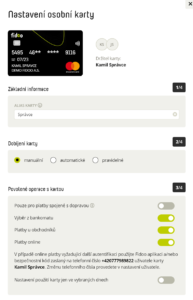
- Settings – Tabs – click on the tab you want to lock.
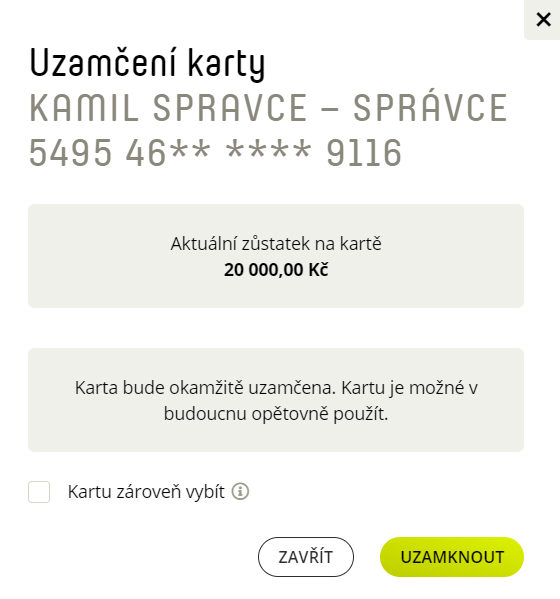
- Click on Lock/Unlock Card (top right), or tick the Discharge Card at the same time checkbox and confirm with the Lock/Unlock button.
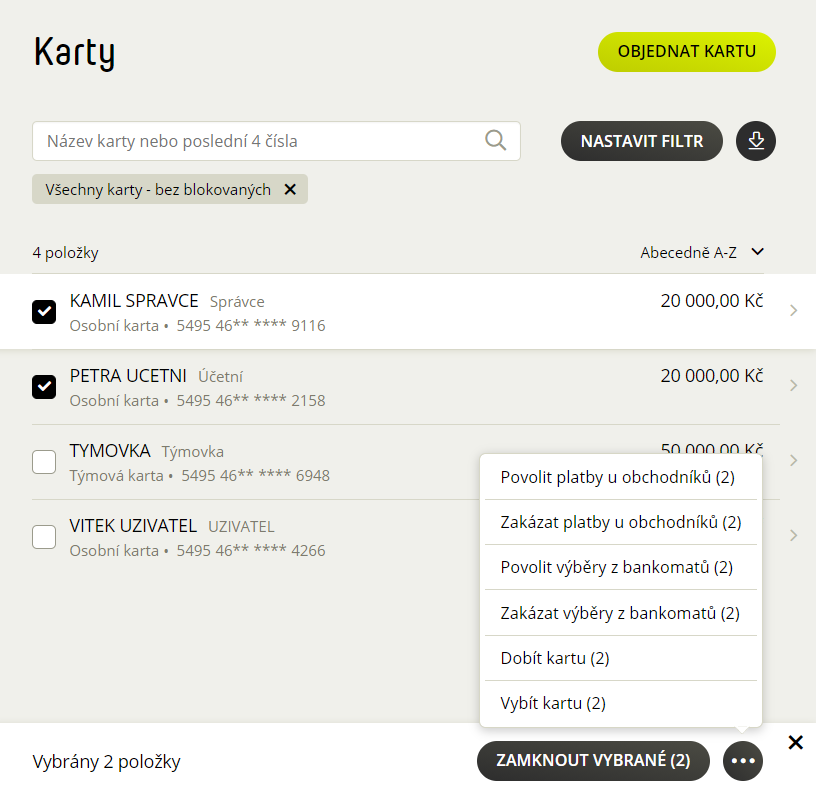
- Settings – Tabs – tick the tabs you want to lock.
- Click Lock/Unlock Selected (bottom centre), or tick the Discharge Cards at the same time box.
- Confirm with the Lock/Unlock Selected button.

- Settings – Tabs.
- Click on Lock all cards, if unlocked click on
- Confirm with the Lock/Unlock all cards button.
- Settings – Tabs – click on the tab you want to hand over.
- Click on
- Select the new holder from the list of users and select Continue.
- Settings – Tabs – click on the tab you want to block.
- Click on
- Confirm with the Block Card button.
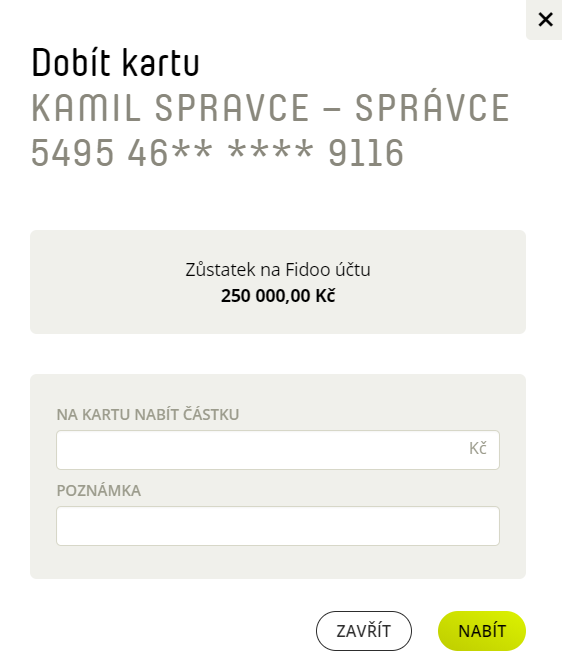
- Settings – Cards – click on the card you want to load/unload.
- Click on
- Fill in the amount, in case of a discharge you can tick Discharge all and confirm with the Charge/Discharge button.
- Settings – Cards – tick the cards you want to charge/uncharge.
- Click on
- Fill in the amount, in case of discharge you can tick Lock the cards at the same time and confirm with the Charge/Discharge button.
- Settings – Tabs.
- Click on
- Fill in the amount, in case of discharge you can tick Lock the cards at the same time and confirm with the Charge/Discharge button.