When to renew the card
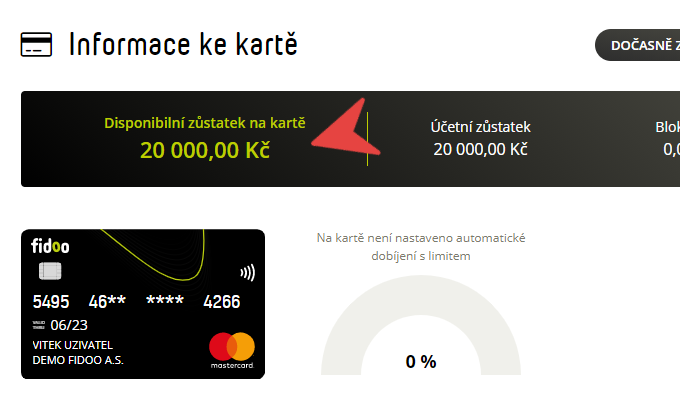
The standard validity of each payment card is three years. This way, you can always find the month and year to which it applies on your credit card. You will not be able to pay with the card after this date. To avoid a situation where your card is no longer valid and you do not have a new – renewed card available, we automatically start the process of card renewal in advance, i.e. issuing a new card with the same number and a new three-year validity period.
Who can renew the card
- Two months before the card expires, we inform both the Fidoo’s main administrator and the cardholder that the card is about to expire.
- From this point on, the chief administrator has a few weeks to decide whether or not to renew your card.
How to confirm receipt of a renewed card
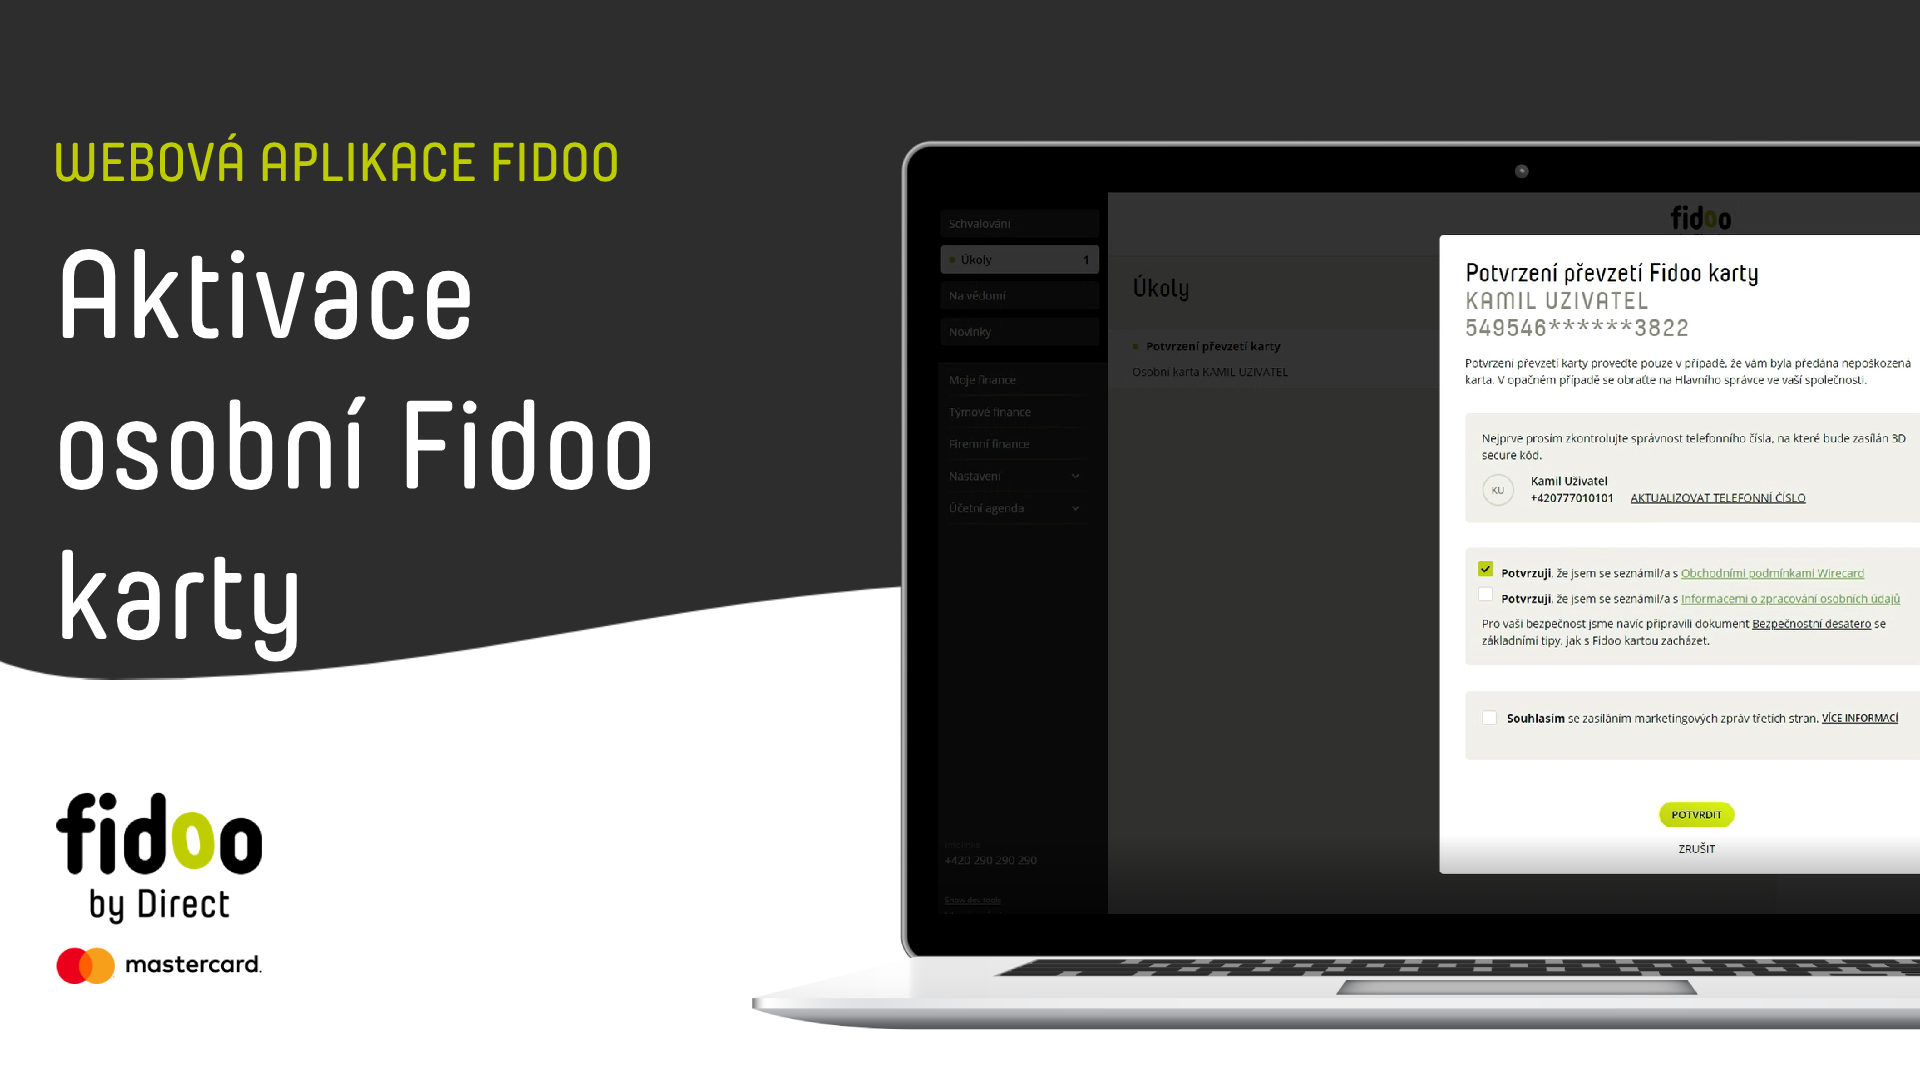
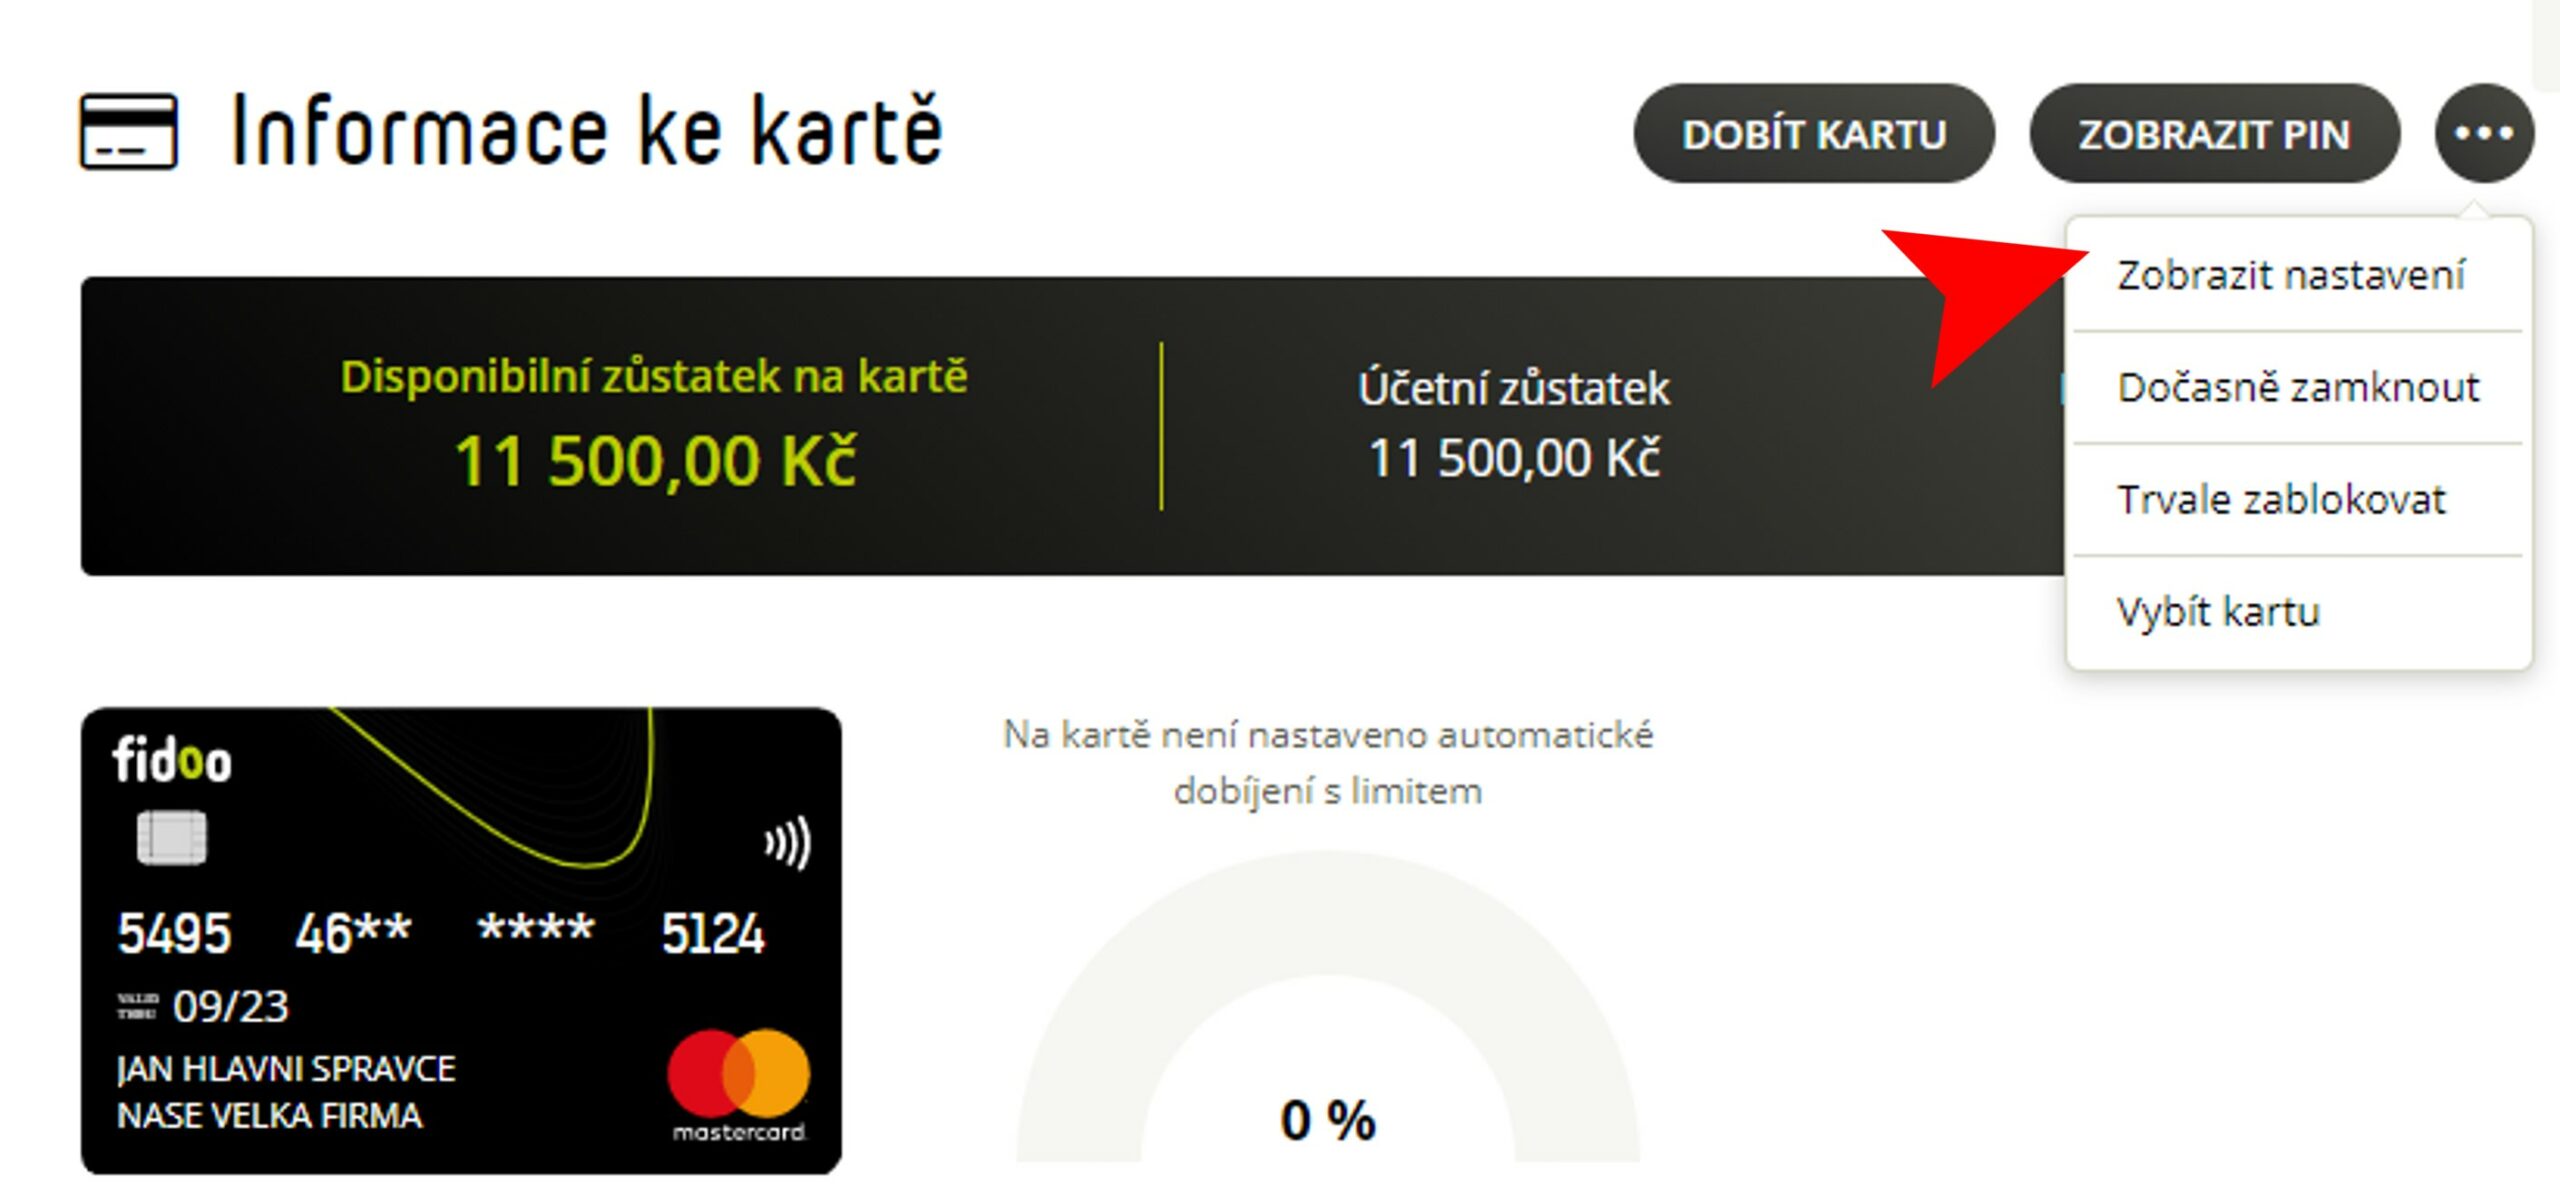
Web app
- Tasks section – Renewal card acceptance confirmation – Open.
- Check the Receipt Confirmation box and type Confirm.
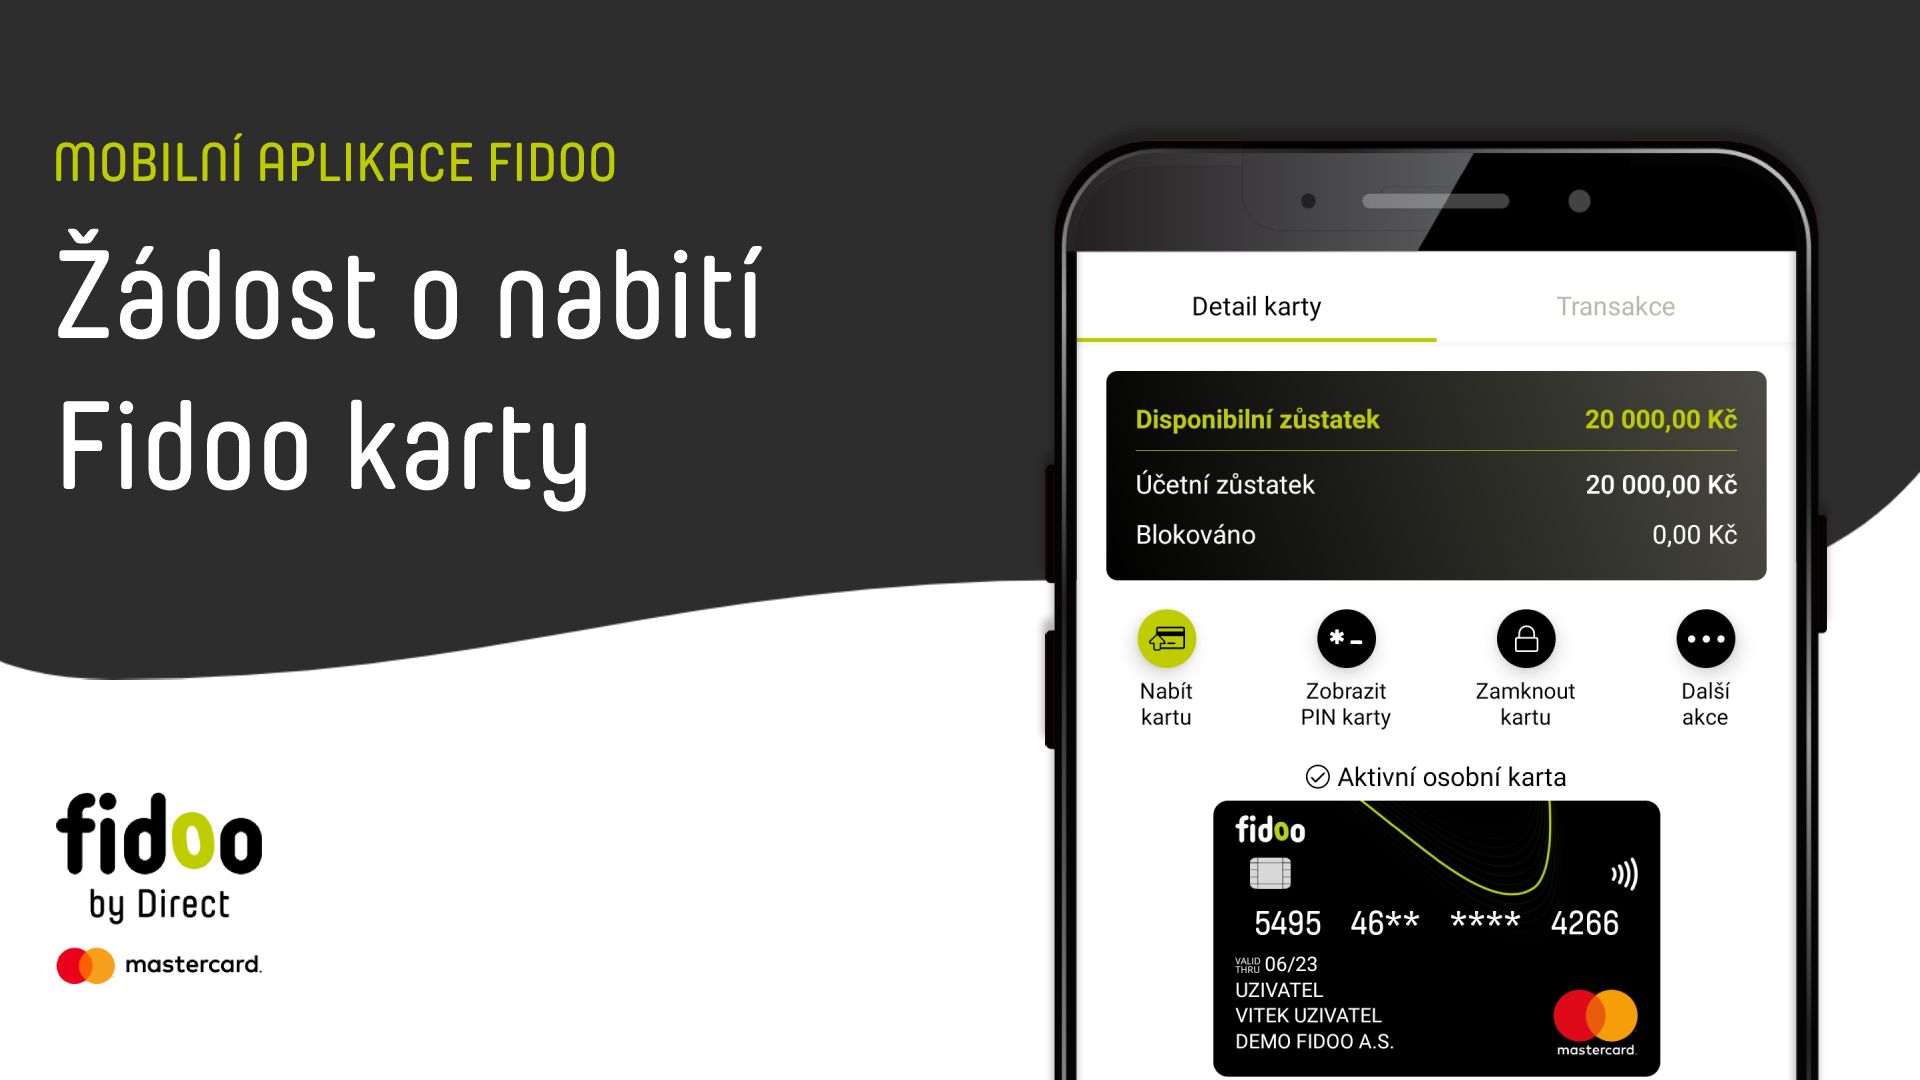
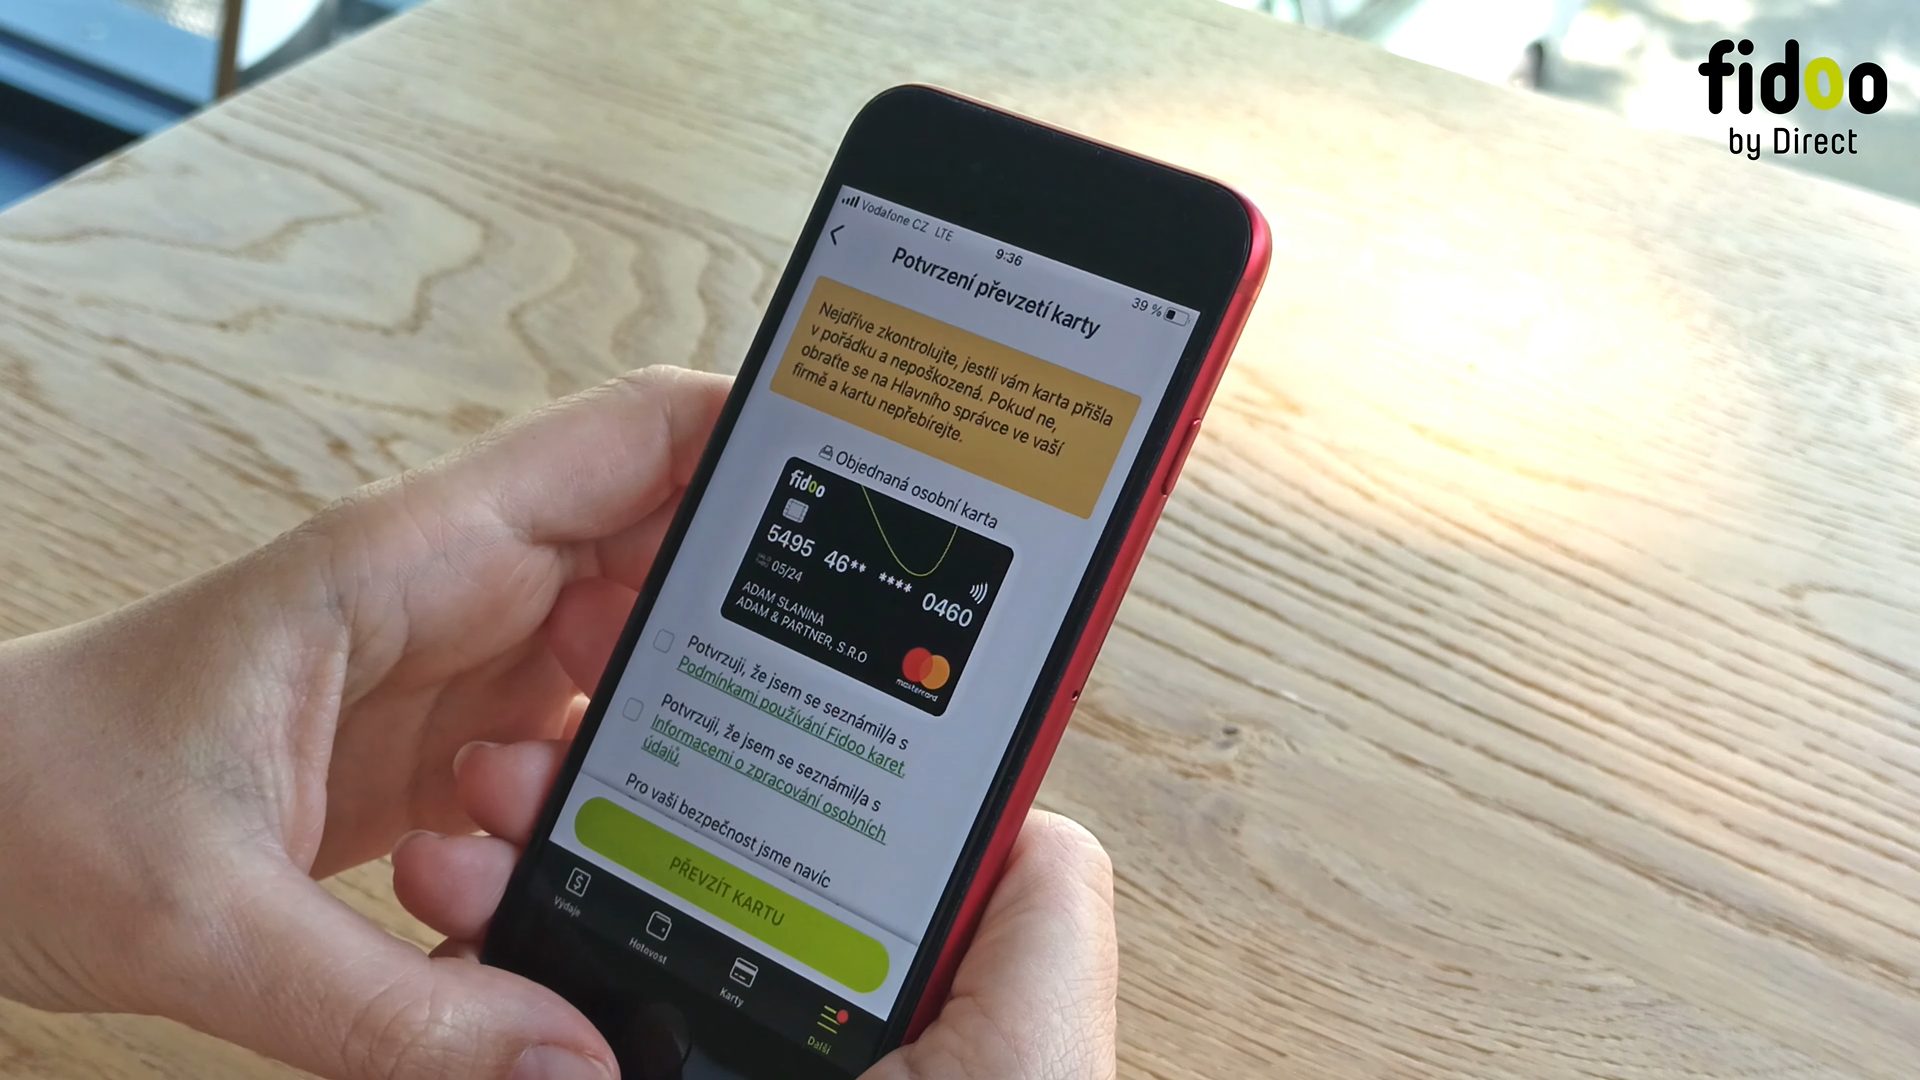
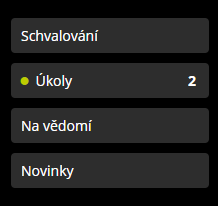
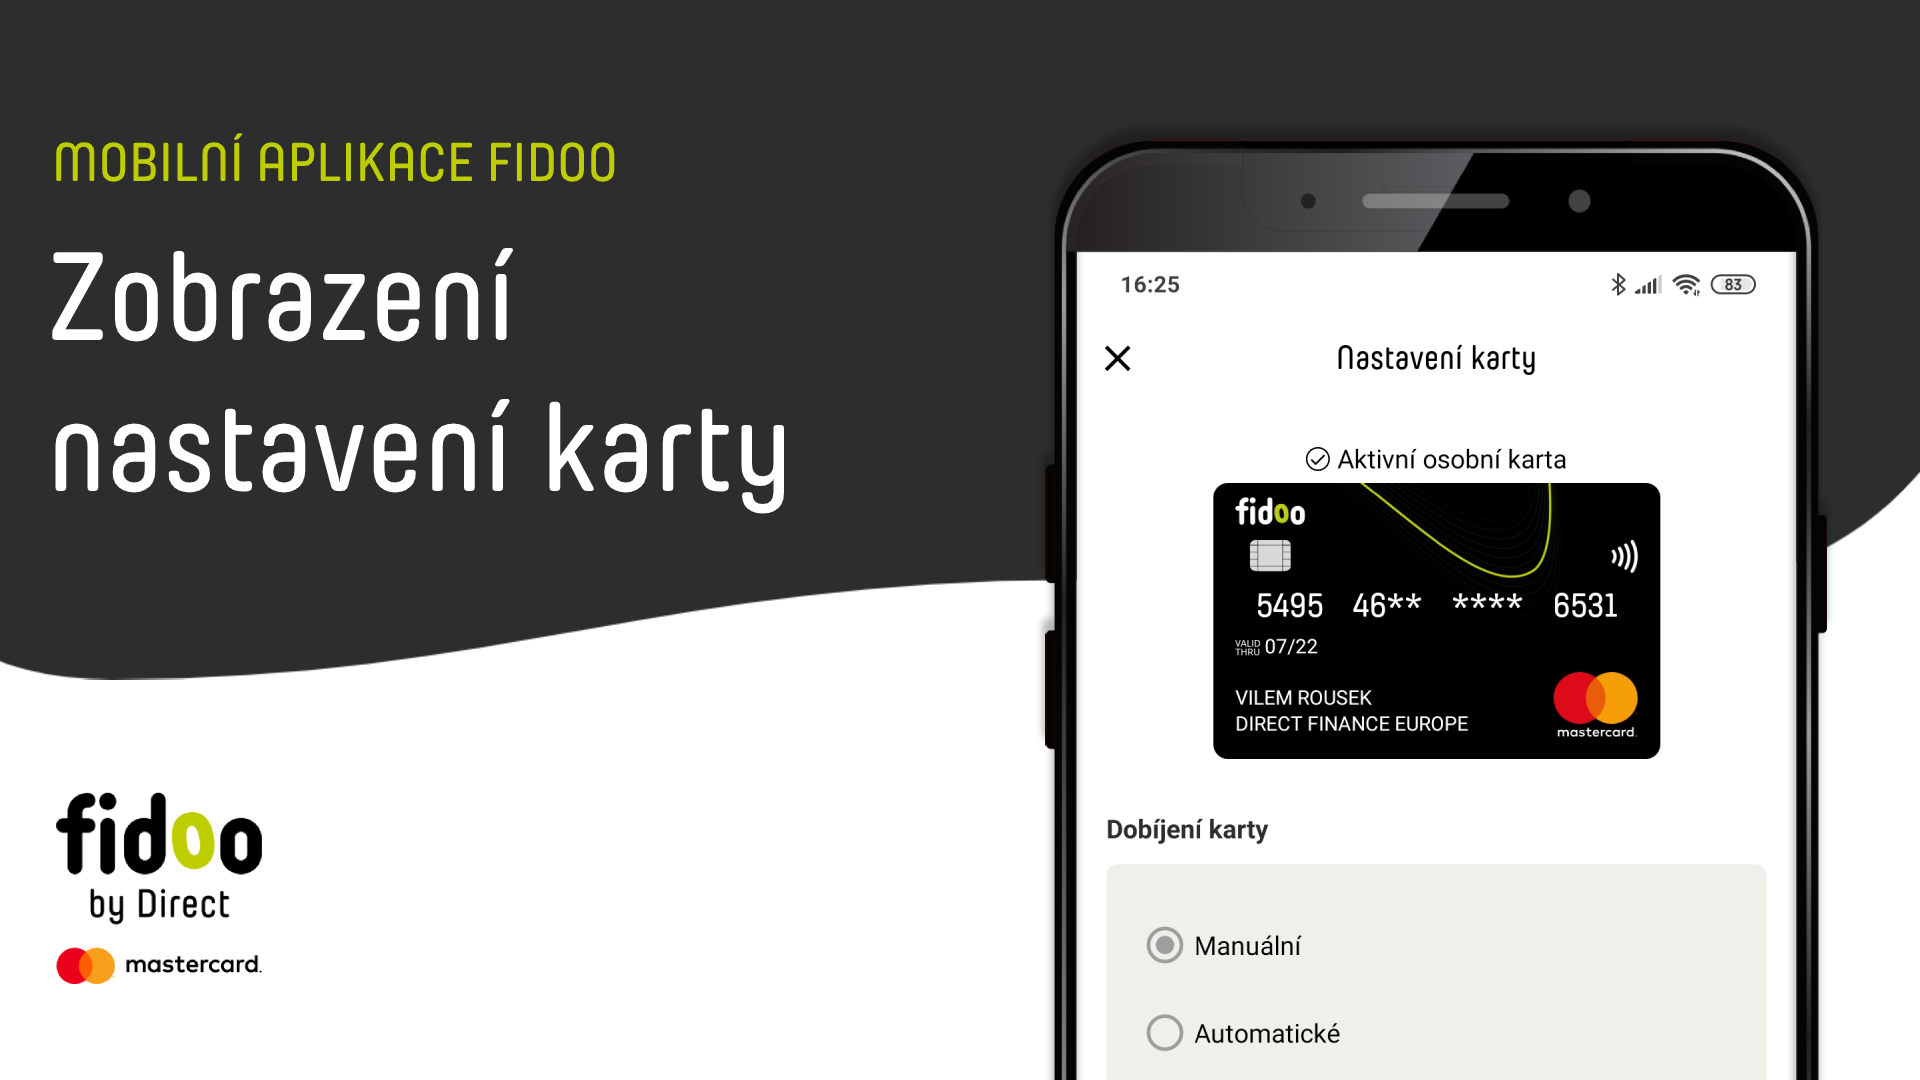
Mobile app
- Bottom menu More – Tasks – click on the Renewal card acceptance confirmation task .
- Select Accept Card, the card becomes active.
Do not acknowledge receipt of the renewal card before you actually receive it. After the renewal task is completed, the expiring card is immediately deactivated and cannot be used again.
Frequently asked questions about the web or mobile application
By confirming receipt of the card and activating it, the original card will no longer function and only the renewed card with a new validity period will be valid. So always make sure you already have a new card before confirming receipt of your card.
The original card will expire at the end of its validity and the renewed card will remain inactive until you activate the card by confirming its acceptance.