Each Fidoo user has a profile where they can manage and set up their information.
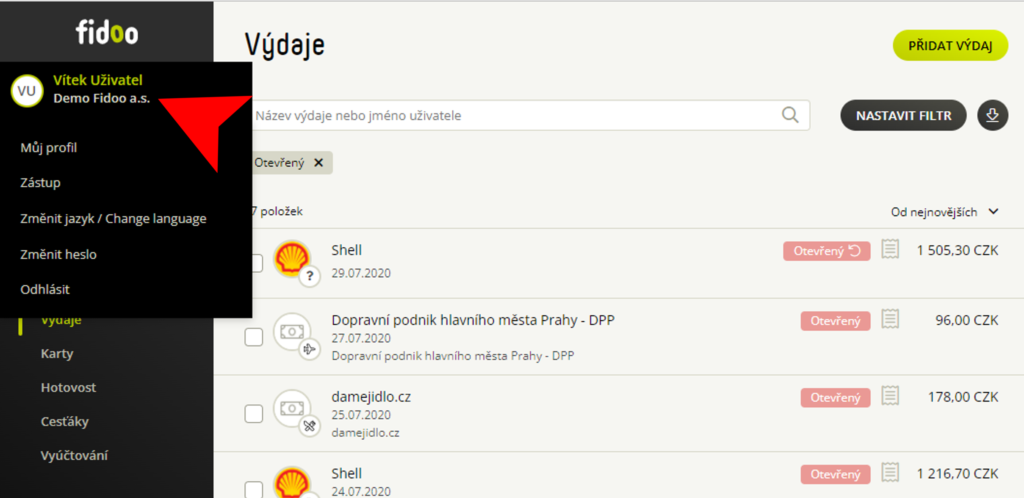
- In the web app, click on your name (top left) – My Profile – the green
 icon next to your phone number.
 - Enter the new phone number and Save number change.
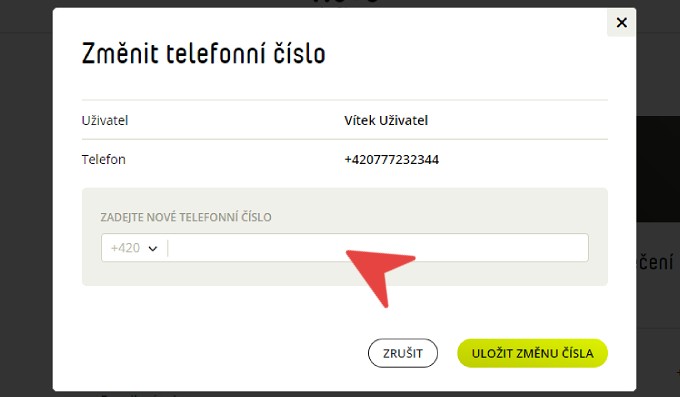
- Enter the six-digit code you received for your new phone and go on.
- In case you do not have access to the application, please request a change of telephone contact for the main administrator of the application.
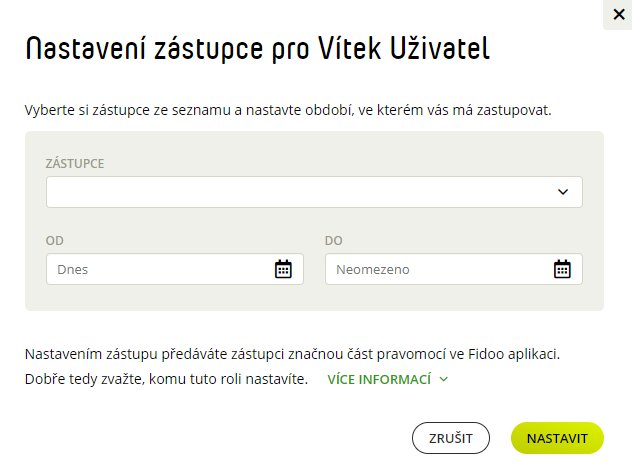
- In the web app, click on your name (top left) – Proxy.
- Select Add Shortcut, select a shortcut from the list of users, and enter the shortcut time.
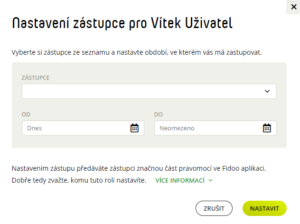
- Confirm with the Set button.
Adjusting the queue time
- In the web app, click on your name (top left) – Proxy.
- For the shortcut you want to edit, select Edit.
- Adjust the time and confirm with the Set button.
Termination of the crowd
- In the web app, click on your name (top left) – Proxy.
- For the queue you want to terminate, select Terminate.
- Confirm with the End Shortcut button.
Login to the account of the represented person
Web app
- Click on your name (top left) – Switch user.
- Select the user you want to represent.
Mobile app
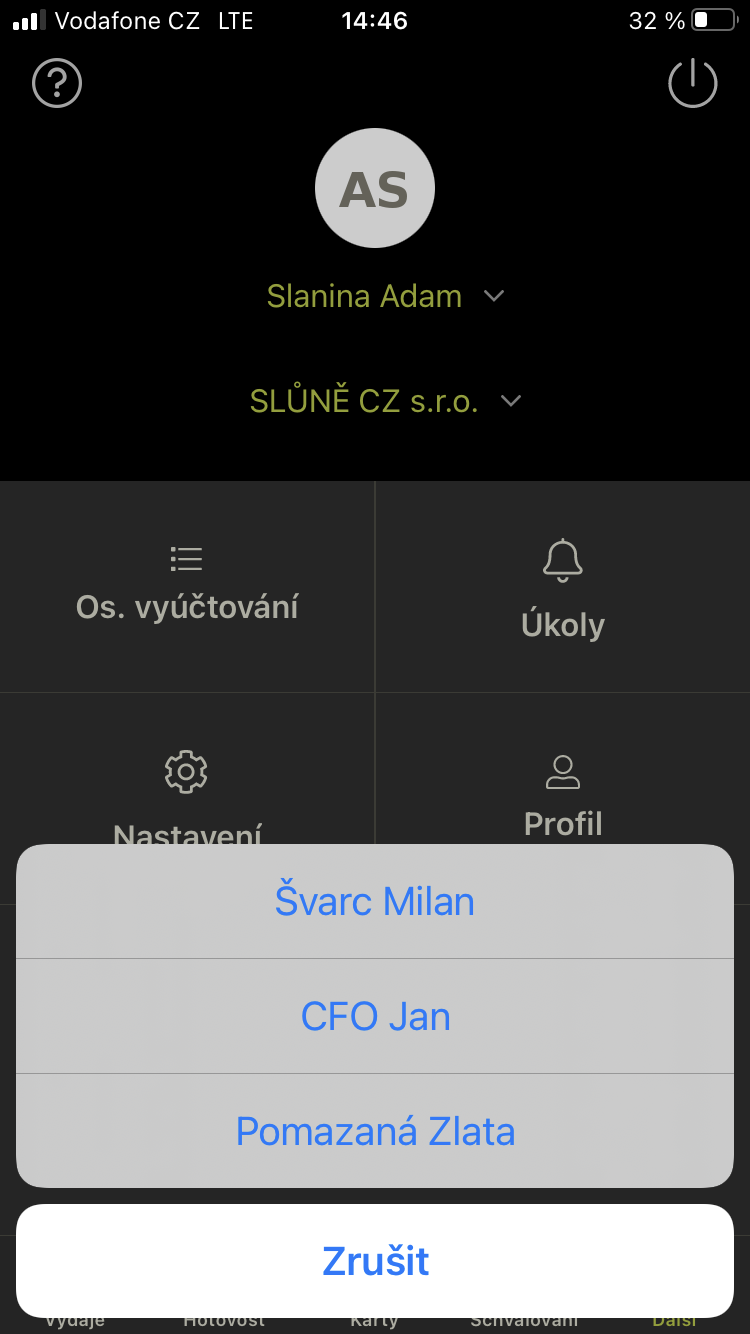
- After logging in, information about the possible crowd will appear for a few seconds, click on
Switch
or select
Next.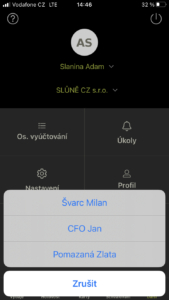
- Click on your name in green and select the person you want to represent.
Setting up notifications in a queue
- Click on your name (top left) –
My profile.
- Select a tab
Notifications.
- If you have notifications set up on your company, tick
Individual settings.
- Scroll through
 to turn on/off the Notifications section of the Tab, and
Save
.
If you are elected as a so-called. super user, you will receive an email accepting or rejecting the role.
- In the web app, click on your name (top left) – Switch company.
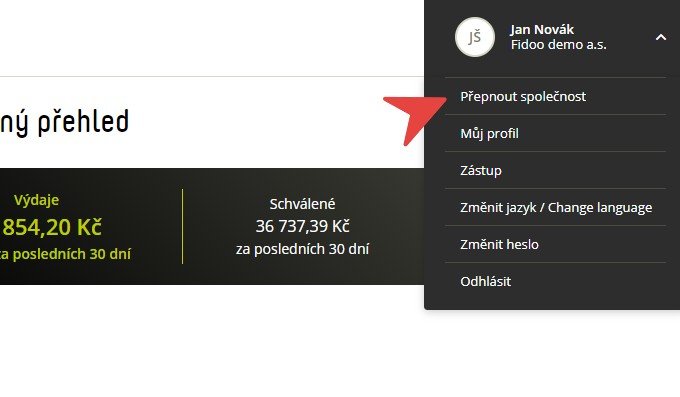
- Click on the selected company to be redirected.
- In the web app, click on your name (top left) –
My profile.
- Select a tab
Notifications
and tick
Individual settings.
Slide the button
/
to turn on/off
messages or notifications, and
Save
.