Web app
- My Finances – Expenses – click on the expense to which you want to attach a receipt and select Edit.
- Click on
 and insert the receipt from your computer.
 - Save or Submit for approval (bottom right).
Mobile app
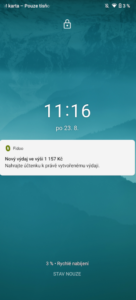
- Log in to the app via the notification you just received or the standard way.

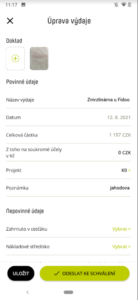
- Find the expense you want to attach the receipt to
and click on it
. (If you clicked on the notification, you skip this step.) - Choose
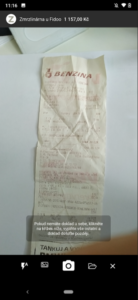
 Add document, insert or take a picture of the receipt and Confirm by entering.
Go back to the list of expenses (top left arrow) or continue and select Edit or directly Submit for approval.
- Fill in the mandatory data, Save or Send for approval.

What is good to know
If you click on Save, you will see the detail of the expense where you have the option to submit the expense for approval, edit, add or remove a receipt. History is hidden in the top right under the three dots, and there is also a Delete option for cash expenditure.
How do I know if the receipt/invoice is well photographed?
- It must be complete and contain all the data, just as in paper form.
- It needs to be easy to read.
- It shouldn’t be taken from an angle.
- It must have the correct crop so that you cannot see the background against which you have photographed the receipt.
- Take the photo in good lighting conditions.
- There can only be one receipt/invoice per photo.
- Photograph a multi-page document so that only one page is on each photo.
- Photograph longer documents in multiple parts to maintain legibility.
What is good to know
The receipt can only be attached by the person who created the expense.
When you create a cash expense, you will be immediately redirected to the option to take a photo/attach a receipt after confirming it.
You can upload receipts in jpeg, jpg, png, pdf, gif format up to 4 MB.
Frequently asked questions about taking photos and attaching receipts
- Make sure the photo of the receipt is not too large.
- Make sure you have a sufficient network connection, or take a picture of your receipt and try again later.
- It means that you took a picture of the receipt from a higher angle and the app straightened it. To avoid this, take pictures of receipts from above.

